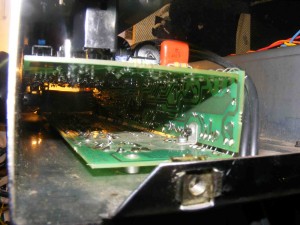
Here are some photos from the inside of a Peavey Classic 30 that I recently repaired.
The amp was brought in making a ton of crackling noises and was cutting out intermittently.
It had been looked at previously by someone who had concluded that the PCB had absorbed moisture (not possible), and had tried to cure this problem by removing the PCB and baking it for 5 hours! Suffice to say this didn’t cure the problem.
Anyhow, looking at the inside of the Classic 30 we can see why many techs don’t like working on them. The PCB snaps into 3 sections that are folded around, with the pots and jacks connected to the top panel and the valve sockets on the bottom.
Worse the 3 sections are connected together with jumper wires.
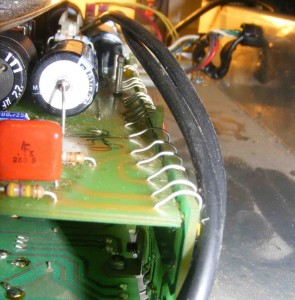
To change a component on the board requires that the board is removed from the chassis, and unfolded. Once the repair has been performed the PCB is refold around and inserted into the chassis. This is quite an involved process and each time you unfold the refold the PCB assembly you risk breaking the links or their solder joints.
Not a great design, although I expect this was the only way the amp can be as compact, and in their favour Peavey amps do seem to be pretty reliable.
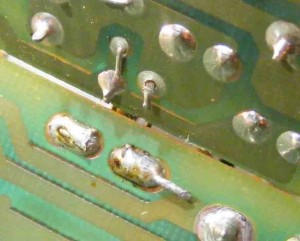
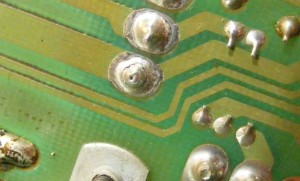
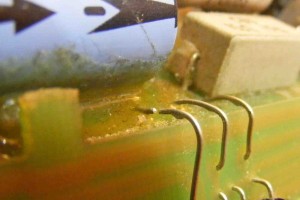
Anyhow, on removal of the PCB I found a couple of dry joints and a broken wire link.
Dry Joint 1.
Dry joint 2.
Broken wire link.
I resoldered the joints , replaced the wire link and this cured the problems when the amp was reassembled.
